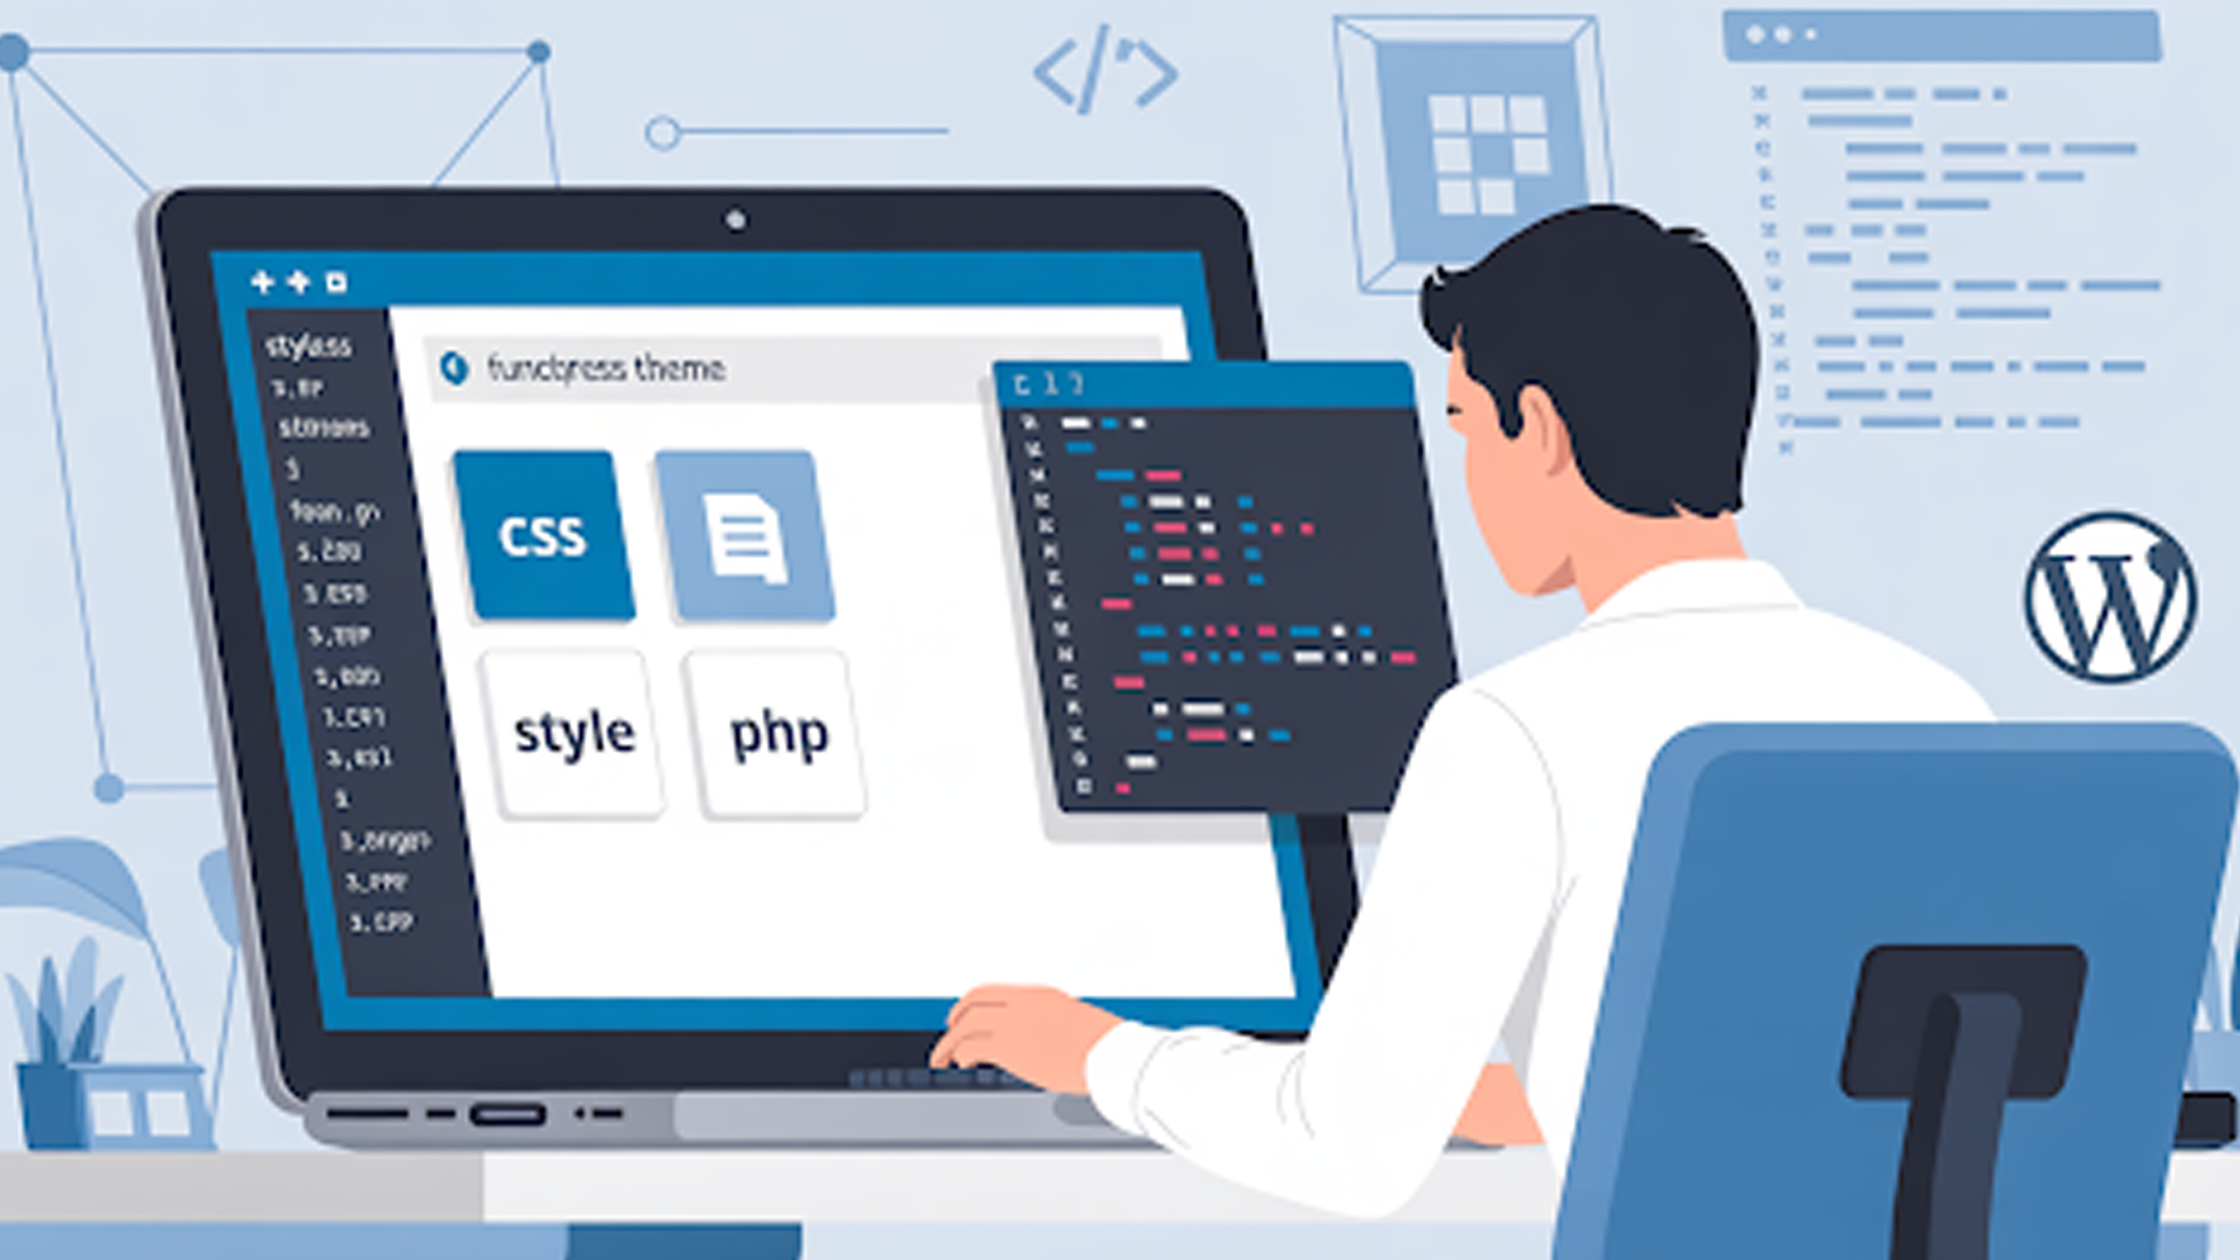
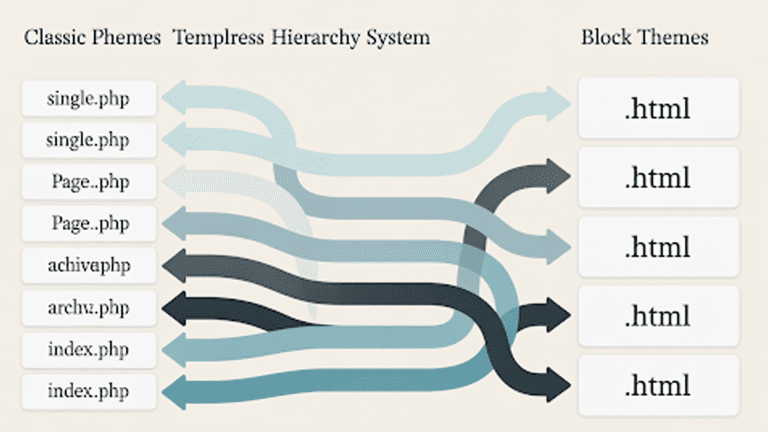
A WordPress child theme makes customizing your wordpress site way easier. Instead of searching for the right plugin “where you have to adjust with some odd features” or risking a parent theme update that wipes your changes, a child theme lets you safely tweak everything. You can CTA button colors to layout elements, without touching the original code.
But creating a child theme still needs a bit of tech know-how. It involves working with files, functions, and the WordPress backend. With low coding experience, it’s easy to break something that can hurt your site’s design or even its search visibility.
In this blog, we’ll share how our web development team approaches child theme creation, and how you can follow the same steps to customize your WordPress site like a pro.
Before You Start: Prepare for Child Theme Creation
When you create a child theme, you’re stepping slightly into the coding side of WordPress. That’s not a bad thing! But it does mean a small mistake can affect how your site runs.
To avoid any unexpected surprises, follow these essential preparation steps before you begin:
- Create a full backup of your website: Make a backup. It’s like saving your progress before trying something new. A full site backup (files and database) lets you restore everything if something goes sideways during setup.
- Set up a staging or local environment: Never test directly on your live website. Any coding error or configuration issue can make your site temporarily inaccessible to users. Instead, create a staging or local environment. A separate copy of your site where you can safely build and test your child theme.
- Use a reliable parent theme: Your child theme is only as good as the parent it inherits from. So, start with a well-built parent theme that’s updated regularly and developed by a trusted source.
- Avoid editing the parent theme directly: Never touch the parent theme’s files. The whole idea of a child theme is to keep your edits safe. If you edit the parent directly, your changes will vanish the next time it updates.
A few minutes of preparation can save you hours of frustration later. It keeps your site stable, your work safe, and most importantly, helps secure your WordPress setup from unwanted surprises.
Step-by-Step: How to Create a Child Theme
From small tweaks to the new important button, all you can do is create the child theme. Just follow these steps carefully, and you’ll have a fully functional child theme ready to customize in minutes.
Step 1: Create a new folder in /wp-content/themes/
Use your FTP client, hosting file manager, or local setup to navigate to:
/wp-content/themes/
Inside this directory, create a new folder for your child theme.
For example, if your parent theme is named “twentytwentyfour”, name the child theme folder something like:
twentytwentyfour-child
This naming helps WordPress recognize the relationship between the two themes.
Step 2: Add a style.css file with a proper theme header
Inside your new folder, create a file named style.css and add the following header comment at the top:
/*
Theme Name: Twenty Twenty-Four Child
Theme URI: https://example.com/twenty-twenty-four-child
Description: Child theme for the Twenty Twenty-Four theme
Author: Your Name
Author URI: https://example.com
Template: twentytwentyfour
Version: 1.0.0
*/
The Template value must match the folder name of your parent theme exactly. This header tells WordPress that this theme is a child of the parent.
Step 3: Enqueue the parent stylesheet in functions.php
Next, create a file named functions.php in your child theme folder. Add this code to ensure your child theme inherits styles from the parent:
<?php
function child_theme_enqueue_styles() {
$parent_style = ‘parent-style’; // This is the parent theme’s stylesheet handle.
wp_enqueue_style( $parent_style, get_template_directory_uri() . ‘/style.css’ );
wp_enqueue_style( ‘child-style’,
get_stylesheet_directory_uri() . ‘/style.css’,
array( $parent_style ),
wp_get_theme()->get(‘Version’)
);
}
add_action( ‘wp_enqueue_scripts’, ‘child_theme_enqueue_styles’ );
?>
This ensures the parent stylesheet loads first, followed by your child theme’s styles.
Step 4: Add a screenshot.png (optional but recommended)
For a professional touch, add a screenshot.png file inside your child theme folder.
This image (usually 1200×900 pixels) appears in the WordPress dashboard under Appearance → Themes, helping you identify your theme visually.
Step 5: Activate your new child theme
Go to your WordPress admin dashboard:
Appearance → Themes → Activate your new child theme.
If everything is set up correctly, your site should look identical to the parent theme.
Step 6: Verify that styles, menus, and widgets display correctly
Finally, check that your design, menus, and widgets are functioning properly. If something looks off, clear your cache and recheck your Template name and enqueue code.
Although creating a child theme isn’t overly complex, it still involves working with code and even a small mistake can affect your site’s layout or functionality. The safest approach is to define your customization goals and share them with Pure Website Design.
Our WordPress experts carefully analyze your site’s structure and create a clean, scalable child theme that fits your needs perfectly, no risk, no downtime.
Tell Us What You Need – Start Your Journey Today!
Share your project requirements, and we’ll guide you through a seamless development journey to bring your ideas to life.
How to Customize Your Child Theme
After testing your child theme successfully on staging now the crucial part begins, where you have to activate it on the parent theme. Here’s how to do it safely and effectively.
1. Override template files
Sometimes, you just want to tweak a few pages. Maybe the header feels off, or you want a custom layout for your blog posts. That’s where overriding template files can work best.
- Find the file you want to change in your parent theme: could be header.php, footer.php, or single.php.
- Copy it and drop it into your child theme folder. Make sure the folder path matches the parent’s structure.
Once it’s there, WordPress automatically picks your version instead of the parent’s. No extra setup, no hacks. You get full control over that file’s layout or design while keeping the original parent theme untouched. Clean, safe, and totally update-proof.
2. Modify styles (CSS hierarchy and specificity)
Most people change colors, fonts, or spacing to match their brand tone with CSS. That’s what the style.css file in your child theme is for.
When WordPress loads your site, it first pulls styles from the parent theme, then from the child theme. That means anything you write in the child’s style.css will automatically override matching styles from the parent.
If something doesn’t change the way you expect, it’s usually a specific thing. Try using more specific selectors or, if you must, drop in an !important (just don’t overdo it).
3. Add or override functions in functions.php
Apart from tweaking fonts and design, your functions.php file is where you shape how your site actually behaves.
With this file, you can change how excerpts display, adjust image sizes, or even write completely new functions from scratch. It’s your way of adding custom functionality without ever touching the parent theme.
And if there’s something in the parent theme you don’t want running, just use remove_action() or remove_filter(). It’s basically telling WordPress, “Skip that part — I’ve got my own version.”
Troubleshooting Common Child Theme Problems
(intent: “how to fix” queries — keeps readers on page)
- Styles not loading → check wp_enqueue_style order
- Template changes not appearing → verify file paths
- Site broken after code edit → revert via FTP
- Conflicts with parent theme or plugins → isolate and test
- Cache & minification issues → clear or disable temporarily
When and Why to Use a Child Theme
Even with a solid setup, things can go sideways. Don’t worry, most issues with child themes are easy to spot and fix once you know where to look.
- Styles not loading: If your custom styles aren’t showing up, check the order of your wp_enqueue_style() calls in functions.php. The parent theme’s stylesheet should load first, then your child theme’s. If it’s reversed, your styles get overwritten.
- Template changes not appearing: When a template edit doesn’t show up, double-check your file paths. WordPress only recognizes files that match the exact structure of the parent theme. One wrong folder or file name, and it defaults back to the parent version.
- Site broken after a code edit: If your site suddenly crashes after a tweak, don’t panic. Connect via FTP (or your hosting file manager) and roll back the last change.
- Conflicts with parent theme or plugins: If things look off or act weird, deactivate your plugins one by one and test again. Sometimes, it’s not the child theme, it’s a plugin or even the parent theme update causing the clash.
- Cache and minification issues: Got everything right but still not seeing updates? Clear your cache. Browser cache, plugin cache, CDN cache. If you’re using a caching or minification plugin, try disabling it temporarily to make sure it’s not serving old files.
FAQs
What is a child theme in WordPress?
A child theme is a lightweight version of your main theme that inherits its design and features. It lets you make changes: like editing layouts, styles, or functions, without touching the parent theme’s core files.
How do I create a child theme manually?
You’ll need to create a new folder inside /wp-content/themes/, add a style.css file with a proper header, and enqueue the parent stylesheet in functions.php. It’s not hard, but you do have to be careful with syntax and file paths. If you’d rather skip the trial and error, Pure Website Design can build it for you
Can I create a child theme using a plugin?
Yes, you can. Plugins like Child Theme Configurator make it a one-click job. But if your site uses a complex parent theme or custom-coded features, it’s still better to have it built manually to avoid conflicts later on.
Will updating the parent theme affect my child theme?
No, that’s the best part. When you update the parent theme, all your child theme changes remain intact. Just avoid editing files directly inside the parent theme, or you’ll lose those updates next time you refresh it.
Why isn’t my child theme style showing?
It usually means the parent and child stylesheets aren’t linked correctly. Check your functions.php file to make sure you’re enqueuing the parent’s stylesheet first, followed by the child’s.
Can I add new templates or functions to my child theme?
Absolutely. You can copy template files from the parent theme to the child and edit them freely, or add new features through functions.php. If you want something more advanced, like custom post types or conditional layouts: Pure Website Design can build that out for you cleanly and safely.
How do I revert if something breaks?
If your site goes down after an edit, don’t panic. Just access your files via FTP or your hosting control panel and roll back the last change. Keeping a recent backup makes this painless, another reason why testing in a staging site is always a good idea.
Let Pure Website Design Create the Right Child Theme
Child themes are one of the smartest ways to customize your website. They let you test new ideas, tweak layouts, and update your design without ever touching the parent theme. It’s safe, flexible, and perfect for ongoing improvements or A/B testing.
But a child theme only works as smoothly as it’s built. If it’s not set up correctly, even a small mistake can break the site or cause design conflicts.
That’s where Pure Website Design steps in. We start by understanding your goals and design preferences, then build and test your child theme in a staging environment. Once everything’s approved, our developers activate it on your live site.


